

Use the CERTA Trainer Portal to access resources, schedule your CERTA applicator training session and get your applicator ID. Follow the steps below to open the portal.
- Log in to NRCA's website (www.nrca.net) using your email address as your username. As a CERTA trainer, you already have a website account; therefore, please do not create a new account. (If you have not previously logged in, click ‘Forgot your password’ and follow the steps to reset it.) If you need assistance logging in or need to make an adjustment to your email address, send an email to the CERTA program administrator at CERTAadmin@nrca.net.
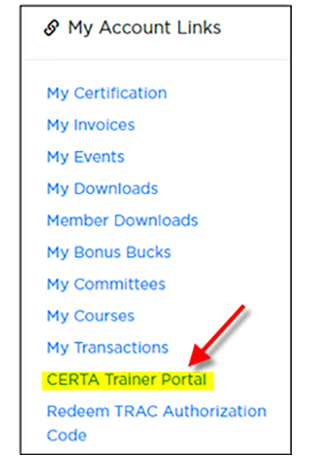
- Once you log in, the website should automatically direct you to the CERTA Trainer Portal. If it does not, click on the CERTA Trainer Portal link found under My Account Links.
- When you access the portal, confirm your contact information is accurate because this is the information that will appear on the Find a CERTA Trainer section of NRCA's website.
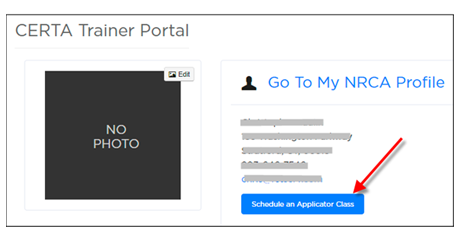
- To schedule an applicator class, click on Schedule an Applicator Class.
- Complete each field on the next page as directed, and list all the companies for whom you are doing the training. If this isn’t done properly upfront, you will not be able to enter the full roster. Also, note whether you are teaching a certification, recertification or mixed (certification and recertification) class.
- After completing the form, click Request Approval at the bottom of the page. Staff will then be notified of your request. Allow at least one business day for approval.
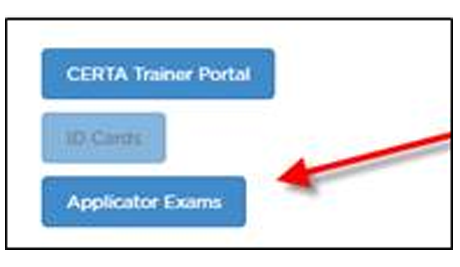
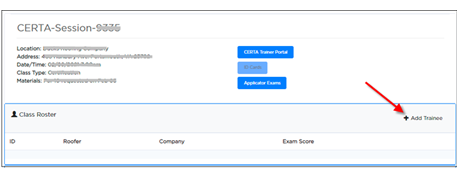
- When staff approves your class, you will be notified via email. The session number for the class will be listed in the Upcoming Classes section of your portal. To access the exams, click the Edit button next to the session number, and then click Applicator Exams.

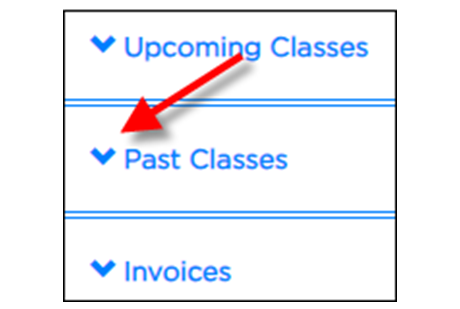
- After the applicator class takes place, log in to your portal and click Edit under Past Classes to add your class roster/trainees.

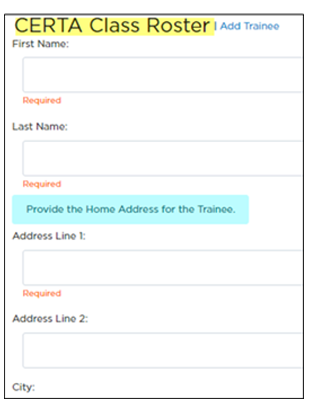
- Complete each field on the CERTA Class Roster page and then click Save. (Do not use all caps.) Note: It is imperative you select the appropriate company name, as well as include the home address for each trainee vs. their business addresses. Also, be sure to add all the trainees on the roster before clicking Submit Roster. After you submit a roster, you will not be able to go back to edit it.
Once you finish entering the roster, click the Submit Roster button.
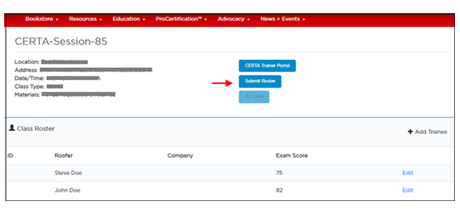
- Click the Submit button again. This will send your roster to the CERTA administrator for processing. Allow at least two weeks for your roster to be processed.

- At this point, you’ll notice the roster is shown below and the ID Cards box is inactive.
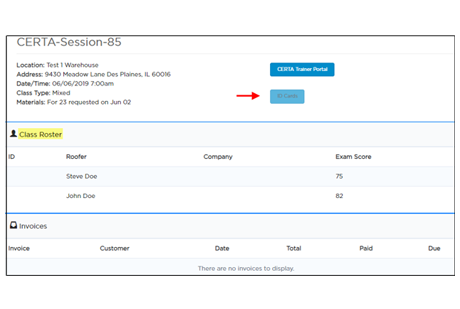
- After staff approves your roster, the invoice will be accessible in your portal by opening the menu under Invoices. The invoice will also be emailed to you. Note: If you are not responsible for paying the invoice, please forward the invoice to the individual who is responsible.
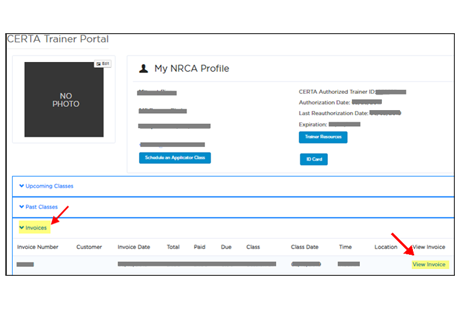
- To pay the invoice, click View Invoice; add it to your shopping cart; and proceed through the checkout process. Disregard this step if you are paying by check.
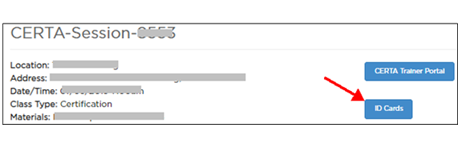
- Once the invoice has been paid, the ID cards will be made available for viewing, downloading and printing under Past Classes. (ID cards will not be mailed.)
- Email the instructor evaluation forms to CERTAadmin@nrca.net for review.
Please direct questions to Diana Arroyo, manager of NRCA University, at CERTAadmin@nrca.net or (800) 323-9545, ext. 7597.
Thank you and happy training!